Over the years, the old headlights can be leaking, which is noticeable by misting up the inside when it rains or when washing the vehicle. As a result of the penetration of moisture, the chromium lacquer also begins to splinter over time or looks yellowed.
The moisture penetrates, but in some cases not necessarily on the seal of the glass / plastic headlight, but may also be due to the sealing rings of the lamp sockets.
New EU Spec headlights (especially for fresh imports) are quite popular, but they are not cheaper. Often worth a restoration. In this case, it was in addition to the ingress of moisture and a cosmetics on a hybrid between EU-spec glass headlights with black facelift-like elements, which there is only as US Spec with plastic cover (without E-mark) and new no less favorable.
Not much is needed for the conversion, but it is an unpleasantly sticky job.
After removing the headlights and turning all the lampholders out, you can start working right away. The glass / plastic cover is held, inter alia, with many metal clips, which are quickly made with a screwdriver. However, to be able to take the glass out, the old glue must be softened either with a heat gun or your own oven.
In the latter, the entire headlight can also be "baked" with electronics such as the headlamp leveling. It is important that the headlight touches as little as possible an area of the open, as the direct heat can cause plastic elements to melt.
Proven here is the "baking" of the headlamp for 5 minutes in a preheated oven with 200 degrees, without having to throw it dirty afterwards. It is best to use a grid plate on which you can put the spotlight, but not on the glass.
After you (of course with gloves) have the headlight out after 5 minutes, you can pry the glass / plastic cover with a screwdriver from the plastic socket out. Be careful, however, because the interposed rubber seal must be reused.
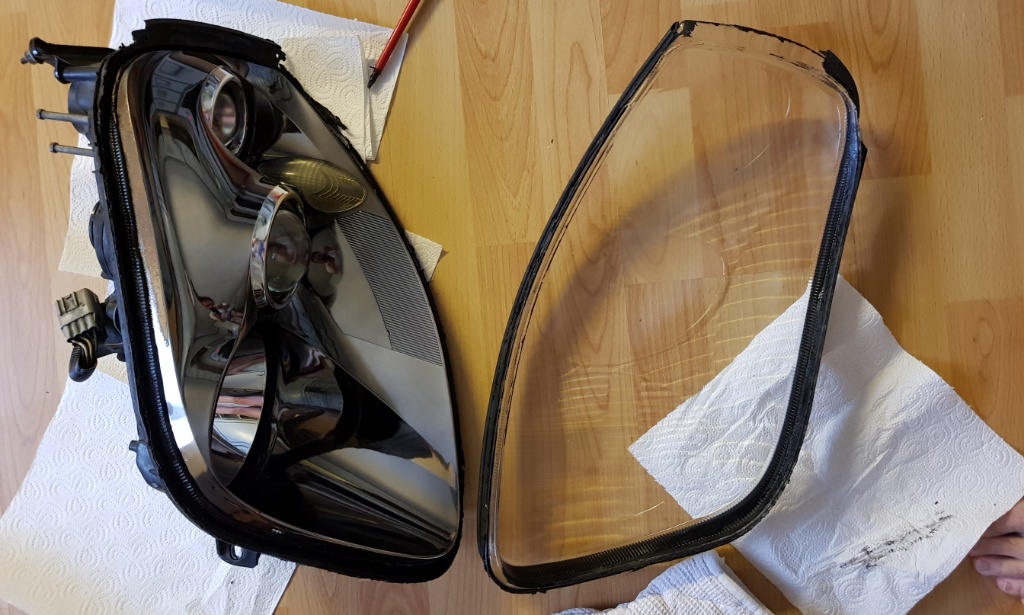 Now comes the real mess, because any old sealant should be removed. Both on the glass, as well as in the version itself. Petrol cleaner in conjunction with a sanding fleece has proven its worth, as it makes it easier to get into the corners.
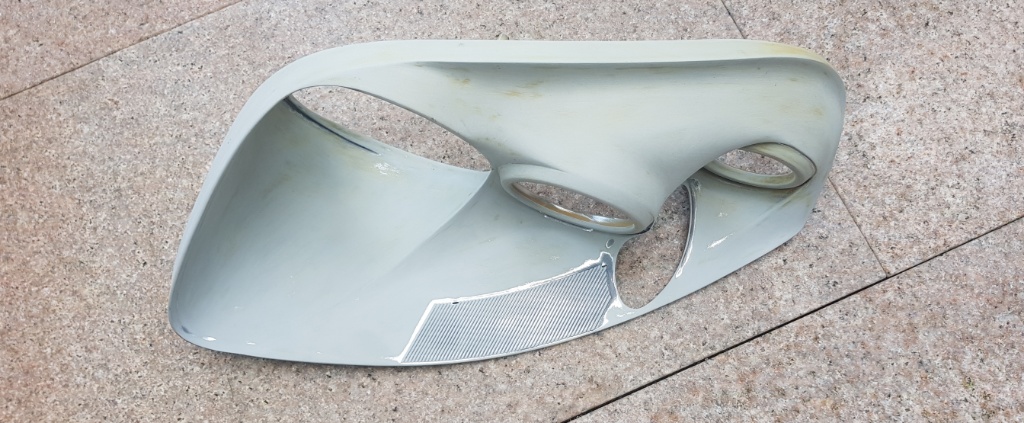
In my renovation I wanted to paint the interior element on facelift look in black. For this purpose, the chromium paint must first be sanded off. In most cases, a roughening, if he (as it would be the case with me wm) in many places already be porous, so grinds this off completely. Can be used here simple sandpaper.
How to safely (plastic) elements painted new and eternity, you can take from my other blog entry Restore the Dashboard .
Once the plastic element has been finished, it is cleaned with Sillikon remover and primed with a plastic primer. The painting I did not this time with the airbrush and compressor performed, but I just got a heat resistant spray can. This is important in that high temperatures can occur in the headlight itself.
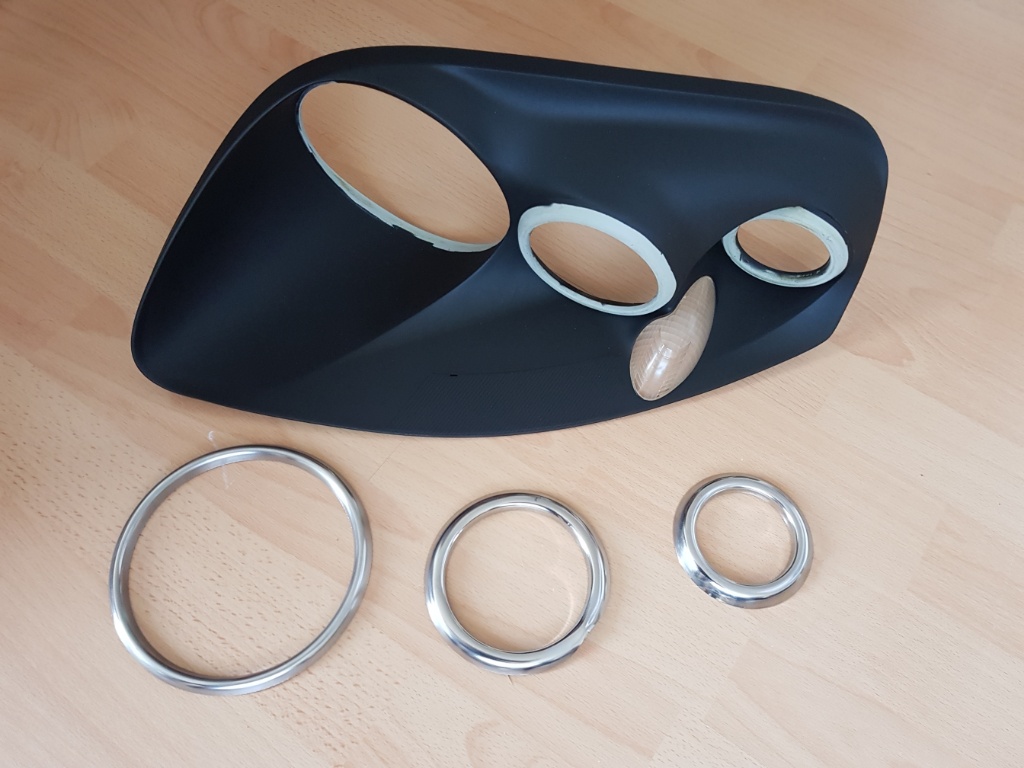
Finished and painted it now looked like this.
Here I masked the areas around the lamps because I wanted to keep the look of the chrome rings. I got these finished polish in UK.
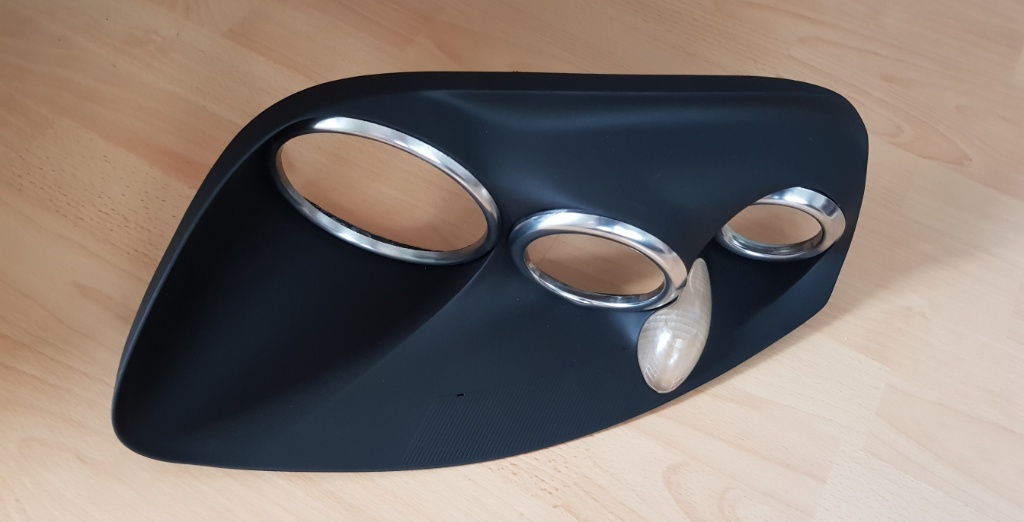
After the paint has dried, the chrome rings have been attached with a two-component adhesive.
Before gluing together everything should be cleaned clean and dust-free. For the glass is also a normal glass cleaner.
In the EU Spec headlight you should also clean the parking lights cover in this course, as it looks yellowed with age as well. On the recommendation of my favorite car parts retailer W & M, I used the Sikaflex 252 for re-sealing / gluing the headlight glass, which is normally injected with a sillicon gun into the plastic socket of the headlight.
.jpg)
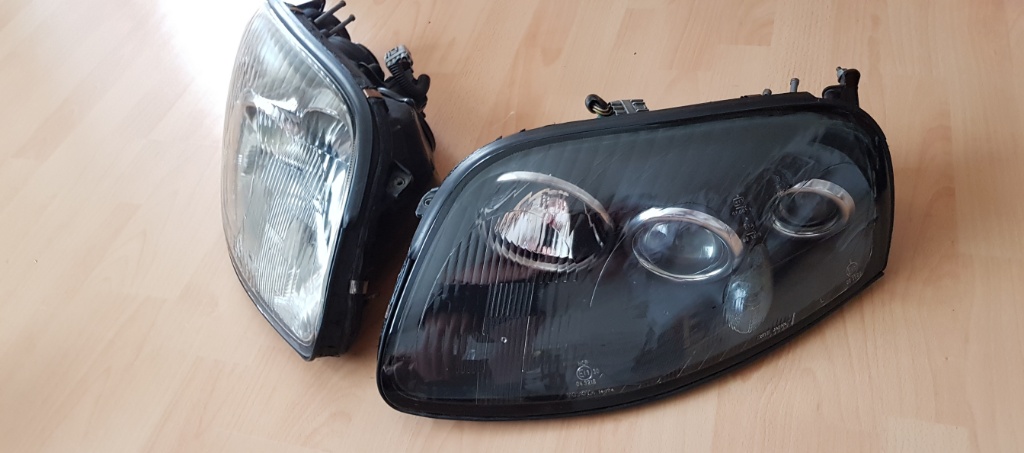
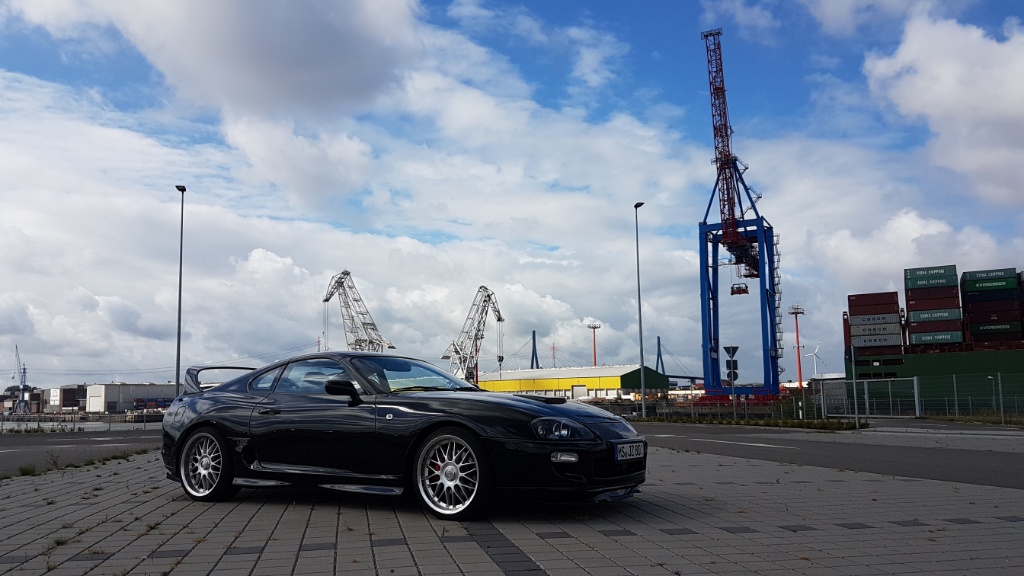
After inserting the glass, ensure that it is pressed firmly into the socket the entire time, before it dries completely. It is also advisable to bring the metal frames back on immediately as they provide a basic voltage. The result of the rebuilt headlights on the Supra now looks like this: